شرح رسم برتقالة بالفوتوشوب
هذه طريقة لرسم البرتقالة منقولة من موقع اجنبي لكن الصور توضح اللغة مفهومة جدا ارجو ان يفيدكم الوموضوع 
How to make an Orange
Step 1: Creating a New Document
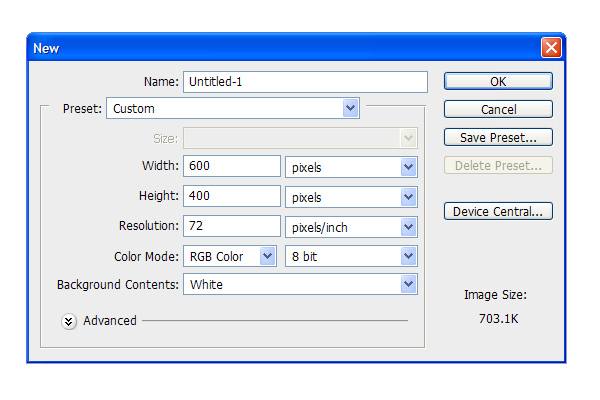
Create a new Photoshop Document (File>New). For this tutorial, I created one 600px x 400px (72 dpi).
New Document
Step 2: Creating the Shape
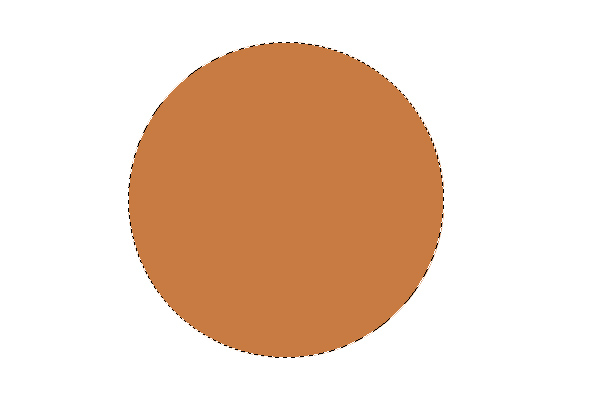
Create a New Layer.. Use the Elliptical Marquee Tool to make a circle. Fill it with an orange color.
Orange Circle
Step 3: Adding Noise

Add some noise to this layer (Filter>Noise>Add Noise). This will add a little texture, necessary for next step to work.
Orange with Noise
Step 4: Adding Texture
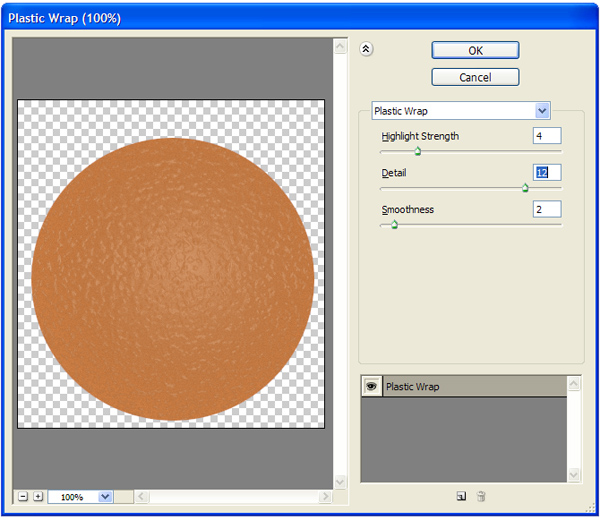
Select Filter>Artistic>Plastic Wrap with the following settings:
Plastic Wrap
Step 5: Adding Effects
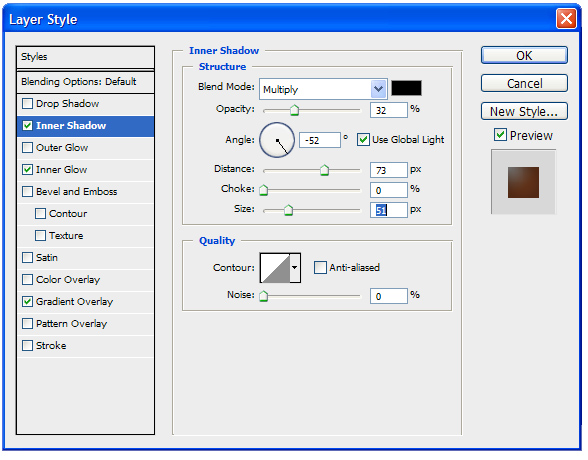
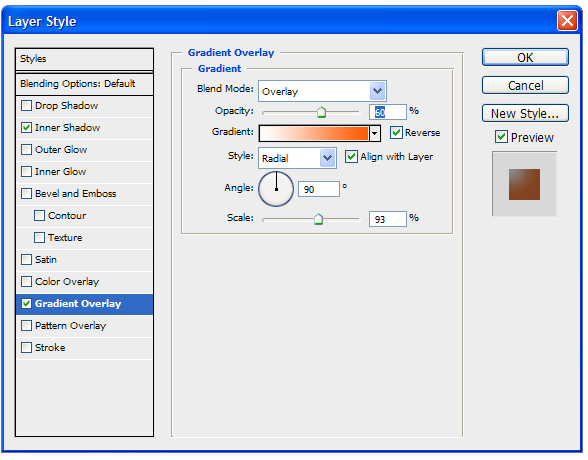
Double click on the layer to open the Layer Styles panel and add the following effects:
Inner Shadow Affect
Inner Glow Effect
Gradient Effect
Your image should look like this:
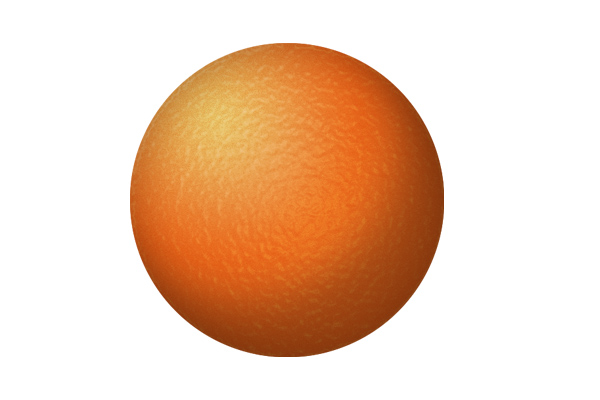
Orange with Layer Styles
Step 6: Adding the Navel

Add a New Layer. Select the Paint Brush Tool and choose the ‘star 70 pixels’ brush form your brushes palette. Without moving your mouse click 3-4 times to get a nice, dark star;
Orange Navel
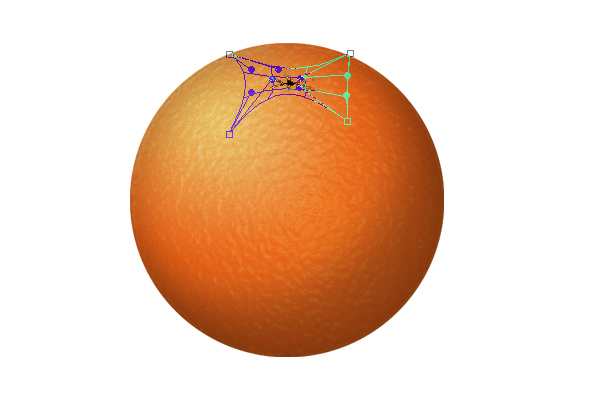
Step 7: Finishing the Orange
Transform the star with the Warp Mode (Image>Transform>Warp) until you get a desirable orange navel.
Warped navel
Change this layer’s Belnd Mode to Overlay and our final image should look like this:
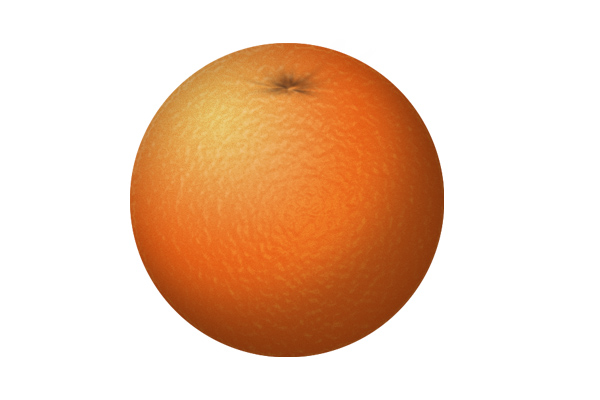
Final Orange
For some added detail, use the Dodge and Burn Tools to add some highlights and shadows. Example:
Final Orange with Detail
How to make an Orange
Step 1: Creating a New Document
Create a new Photoshop Document (File>New). For this tutorial, I created one 600px x 400px (72 dpi).
New Document
Step 2: Creating the Shape
Create a New Layer.. Use the Elliptical Marquee Tool to make a circle. Fill it with an orange color.
Orange Circle
Step 3: Adding Noise
Add some noise to this layer (Filter>Noise>Add Noise). This will add a little texture, necessary for next step to work.
Orange with Noise
Step 4: Adding Texture
Select Filter>Artistic>Plastic Wrap with the following settings:
Plastic Wrap
Step 5: Adding Effects
Double click on the layer to open the Layer Styles panel and add the following effects:
Inner Shadow Affect
Inner Glow Effect
Gradient Effect
Your image should look like this:
Orange with Layer Styles
Step 6: Adding the Navel
Add a New Layer. Select the Paint Brush Tool and choose the ‘star 70 pixels’ brush form your brushes palette. Without moving your mouse click 3-4 times to get a nice, dark star;
Orange Navel
Step 7: Finishing the Orange
Transform the star with the Warp Mode (Image>Transform>Warp) until you get a desirable orange navel.
Warped navel
Change this layer’s Belnd Mode to Overlay and our final image should look like this:
Final Orange
For some added detail, use the Dodge and Burn Tools to add some highlights and shadows. Example:
Final Orange with Detail
شكرا وجزاك الله خيرا